Ok, first things first – REIGNITE is yet only the working title, but that’s only one thing.
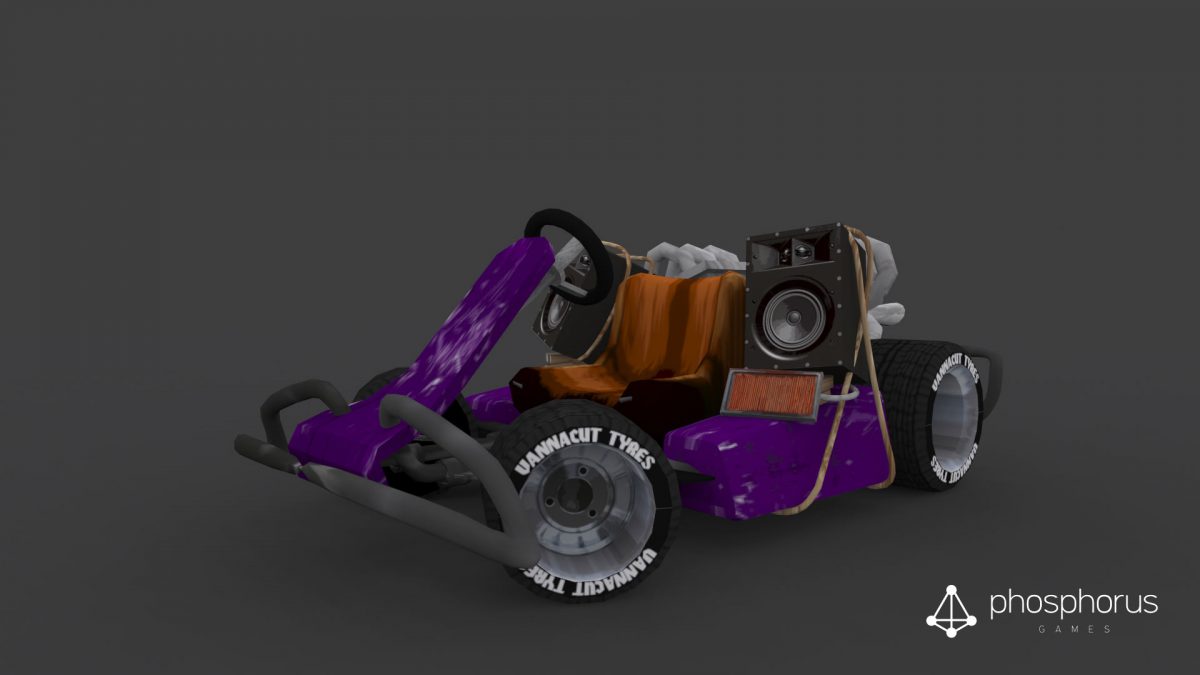
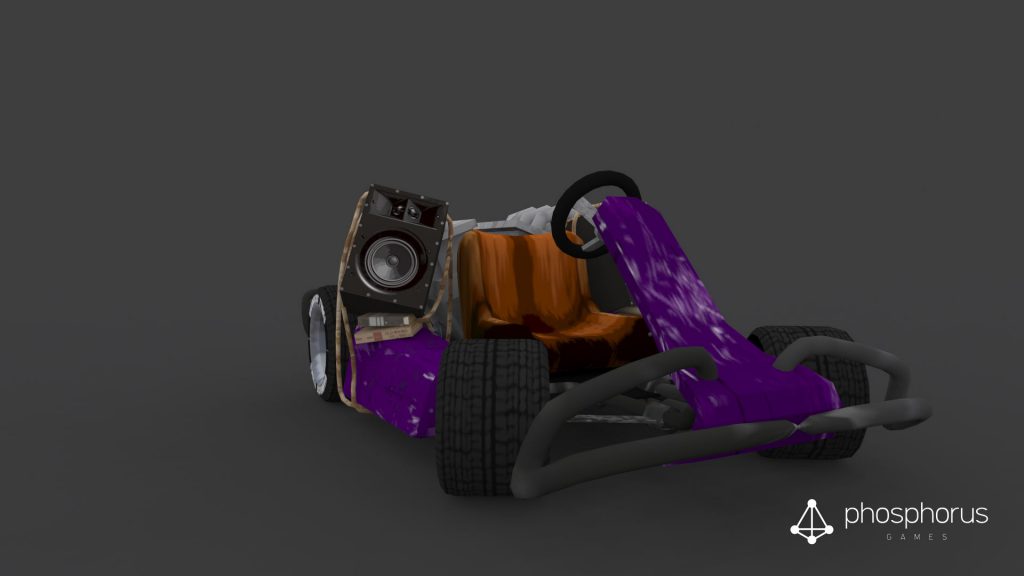
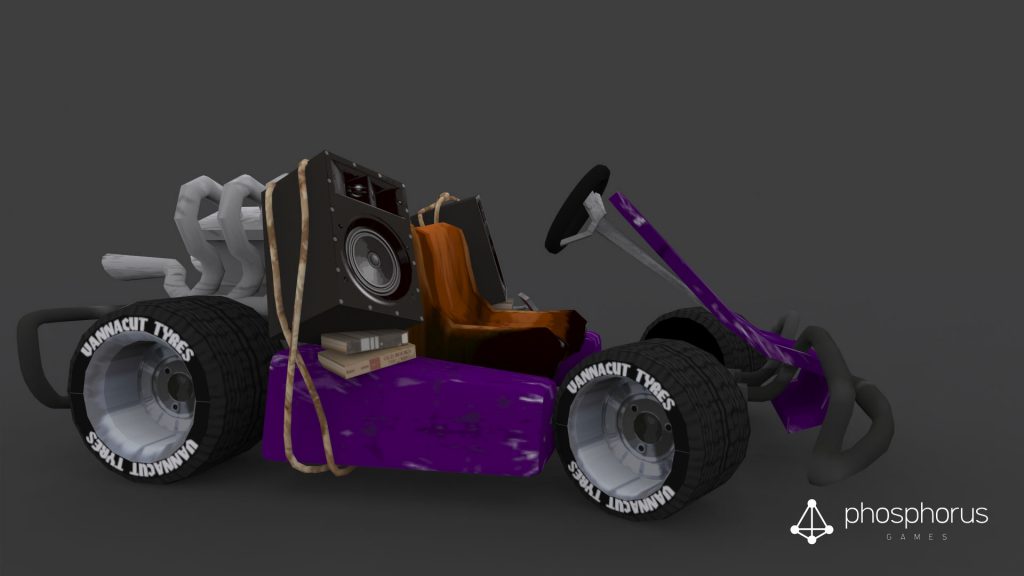
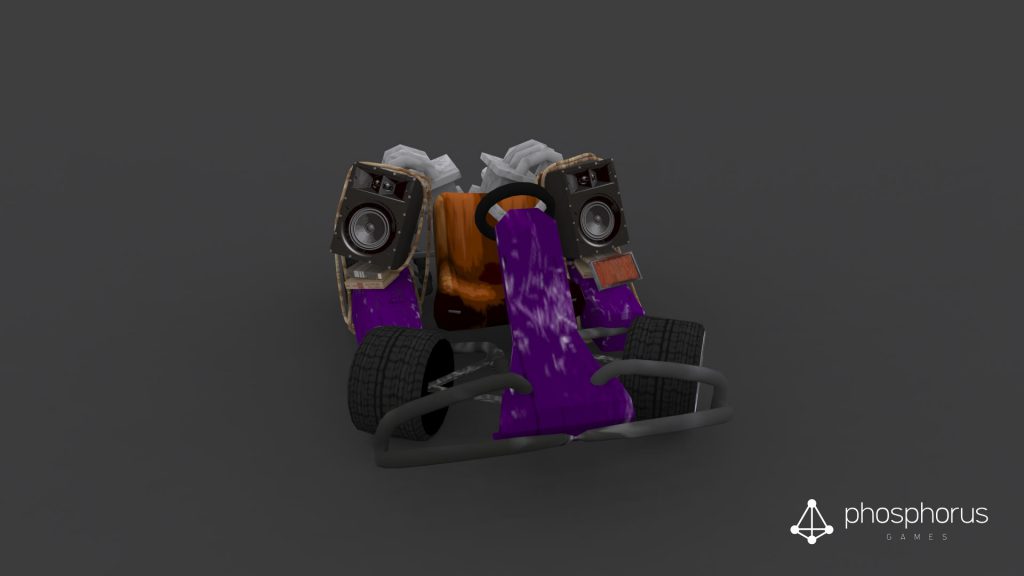
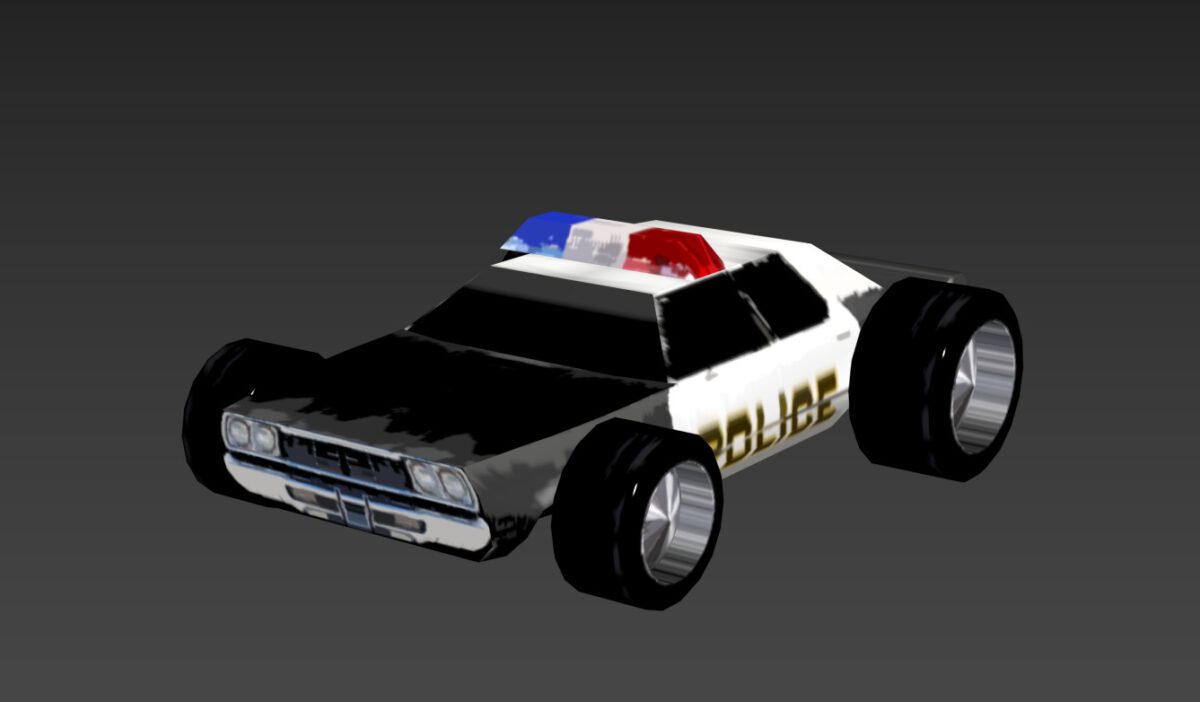
I recently started working on a modern take on “Ignition” (also known as “Bleifuss Fun”). Yet I am still working on the very very basics as car features and handling and did not do much beside creating a test car for it
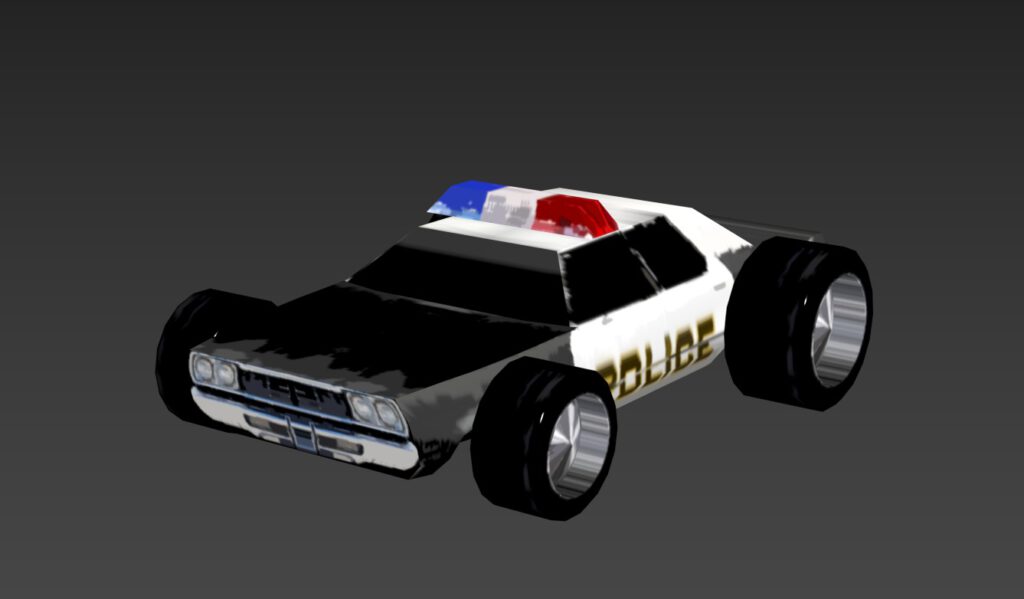
It is a very very rough take on the “Enforcer” car from Ignition, and those shady textures are on purpose, but I am not yet sure about the style – there will be a poll in discord soon.
Keep you updated.