Zombies.
We decided to get back to our – yet unnamed – zombie/monster round based story driven game. While having multiple similar game ideas in mind (Fragment 5, Game of the dead – just to mention two working-titles) we decided to follow a more unique idea instead of “just” creating a more or less copy of CoD Zombies, as there are plenty.
So, SPOILER ALERT, there will not be only zombies. Say what? Yeah, you are right, just as in the latest and also other CoD Zombies you will not face only undead, but other deadly enemies.
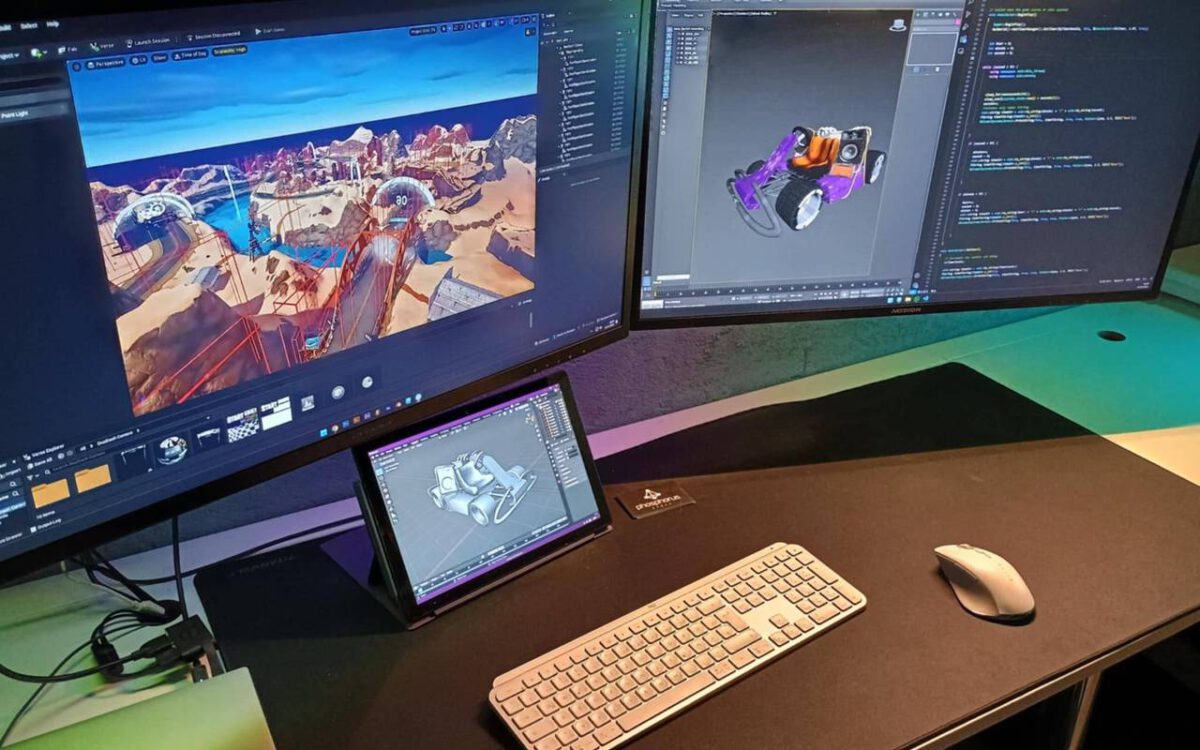
Yet, as you can see, we are working on a opera as first map as a tech tryout – we have not yet finally decided what general look the game will get, but we will find out in a closed playtest.