Categories
Development High Stakes Tutorials

Converting a NFS5 PU track to blender

In this tutorial I show you the (for me, yet) best way to convert a track from NFS5 aka Porsche / Porsche Unleashed to a blender-compatible format.

First of all you obviously need a original copy from nfs5 pu for your pc. I will target the PSX version in another tutorial.

Futhermore you need the NFSPU CRP Track Converter (Credits to Denis Auroux, Bonne, Krom, Nikko, The Born, Addict) which you can download right here – and of course blender.

First of all you need to locate the desired track for conversion – in my case I chose “Zone Indutrielle”.

The trackdata can be found under \GameData\Track

To keep a better eye on the converted tracks and data I always copy the files to another location where I can better sort and store the track data, but that is totally up to you.

Step 1 – DRP2DRP

Shipped with the NFSPU CRP Track Converter Tool you find the crp2drp.exe in the main directory.

Once started you might want to select “decompress” and then select the corresponding .crp-file of your track.

This will create a new .drp-file within the folder of which you started:

Step 2: DRP2LWO

Once we got the .drp-file of the selected track from the step above we now can convert it to .lwo file format. Again, shipped with the toolset you find the drp2lwo.exe in the main folder.

As easy as it could be you now just have to select the just created .drp-file

And need to wait a bit until it states “complete”

Then you will find a new folder, named after the .drp-file in the root folder where your track files are located. Inside you will find a bunch of .lwo-files:

Step 3: Converting the textures

Before heading into blender – according to the guide shipped with the toolset – we need to convert our textures.

For this we find the tool “FSH2PTX” in the “FSH2TGA” subfolder of the toolset. This needs to be run via CLI/command line.

Also I recommend to copy the track’s .fsh-file (e.g. industrial.fsh) to the same folder of the fsh2ptx.exe

So the prompt would be

fsh2ptx industrial.fsh

After pressing “Enter” the final conversion starts. This might take a while as there will be a bunch of textures converted.

Once completed (and duplicated the folder at a 100% state), you can remove all .ptx-files as they are not needed, and that results in a folder full of .tga-files:

Again, following the guide, now you need to copy the “Unknown.tga” from the root folder of the toolset to the other track’s tga-files.

Step 4: Merging the folders

This step can differ as it depends on your working structure. As I, as stated before, work with separate folders for the converted track .lwo-files and the .tga-files I now need to join them in one single folder. I tend to call those folders TRACKNAME_united_blender for better identification.

Step 5: Installing the Plugin for blender

Now you need to install the “io_scene_lwo” Plugin into blender.

Step 6: Importing the files

After launching blender, at first I recommend to remove the default objects from the scene at first so we have a clean start.

If you have successfully and correctly installed the “io_scene_lwo” plugin you can now find the lwo-import option from the menu under file > import > LightWave Object

Then navigate to the tracks’s folder you just created

I personally recommend to check these settings

Breakdown of settings:

  • Use Existing Materials – as in the NFS universe a Block/LWO-File will have multiple textures assigned blender otherwise tends to create materials for each texture for each object imported, leading to easily over 5.000 materials for the scene. I tried cleaning them up, it was a pure mess.
  • Import all files in current directory – simply a pure time saver if you want to import the whole track at once. If you just want specific blocks this setting should be off.
  • forest:
    1045_CNK1624R (1 WATERFALLBACK01).lwo,
    1046_CNK1624R (1 WATERFALLFRONT01).lwo
  • industrial:
    327_OBJECT01 MID1.lwo,
    328_OBJECT02 MID1.lwo,
    329_OBJECT03 MID1.lwo,
    330_OBJECT04 MID1.lwo,
    331_OBJECT05 MID1.lwo,
    332_DOCKWATERCLOSE05 MID1.lwo,
    333_OBJECT07 MID1.lwo,
    1214_CNK0000L (7 LINE01).lwo,
    1219_CNK0016L (7 LINE01).lwo,
    1224_CNK0032L (7 LINE01).lwo,
    1545_CNK1056L (1 CONVEYOR).lwo,
    1547_CNK1056L (1 CONVEYOR01).lwo,
    1612_CNK1072L (1 CONVEYOR).lwo,
    1614_CNK1072L (1 CONVEYOR01).lwo

Then hit “Import LWO” and wait!

If you encounter a force close this will be caused by a single or multiple faulty blocks - I then start to import 100 files at once, save, and keep doing this until I reach the 100-block-set causing a force close and strip it down until I find the block(s) that cause the trouble. Mostly those blocks are only one or two, but finding them is kind of hard. Maybe you can reach out to the reNFS5 Project via Discord:

Once the import has successfully completed you will find the track inside blender – even if you switch to textured view there wont be any textures:

Step 7: Run the texture script

Inside the toolbox you will find a readme containing a script. Don’t bother, here is the script for you:

import bpy

import bpy

for obj in bpy.context.scene.objects:
    if obj.type == "MESH":
        for mat_slot in obj.material_slots:
            mat = mat_slot.material
            if mat:
                has_unused_texture = False
                for node in mat.node_tree.nodes:
                    if node.type == "TEX_IMAGE" and not node.outputs[0].is_linked:
                        has_unused_texture = True
                        for input in mat.node_tree.nodes["Principled BSDF"].inputs:
                            if input.name == "Base Color":
                                mat.node_tree.links.new(node.outputs[0], input)
                                break
                        break
                if not has_unused_texture:
                    print("Material", mat.name, "has no unused image texture.")

Copy this script and run it in the script window of blender. Please make sure that during the import AND before running the script the corresponding .tga-files have been in the same folder (not any subfolder) of your imported .lwo-files!

Insert the script and click “play” – wait a bit and your viewport will turn back to default shading, if you switch now back to textured view, you will see the track beautifully textured:

click this for textured view

Step 8 – optional – cleaning the object mess

As the track is now successfully imported you will find a pretty mess of easily over 1.000 single objects. For my further use that is totally useless, so I tend to sort the objects to

  • road
  • landscape
  • signs and other objects
  • foliage
  • movables
  • blockers

For this I simply create new collections and name them correspondingly

Once all sorting is done I can toggle all specific groups to check all objects are – more or less – properly sorted (I need this for the future rework of the track(s)).

After having them successfully sorted the objects are being united (except the movables). To do so just select all objects and press CTRL+J in object mode in the viewport.

Step 9 – further processing

As the track is now imported and saved you can do whatever your next steps are.

You can download the blender project here

Here you can discover how I continued to import them into the unreal engine 5 for the High Stakes project.

Categories
Development High Stakes Tutorials

How to convert a NFS3/NFS4 Track for use in Blender, 3D Studio and/or Unreal Engine (4)

THIS IS AN OUTDATED AND TOO COMPLICATED WAY - READ THE FOLLOWING TUTORIAL INSTEAD! LINK

As there has been a HUGE update on the process – you should continue reading here.

Requirements:

Additional Tools

  • NFS3/NFS4 FRD Track Editor (to view tracks originally) [download here]
  • Photoshop, Affinity or similar gfx tool

Step 1 – Convert the track file from .frd to .lwo

The first tool you need to use is “frd2lwo” – this is a light weight gui-based tool to convert frd-files (nfs3/nfs4 native track file format) to lwo (lightwave object).

The tool right after first start

As easy as it can be, click “open” and locate your .frd-file.

Select the Tr.FRD of the track you want to convert

Select the file and once again click “open”

Once the conversion process is completed, you will kindly be asked to exit the tool.

Now, if you browse to the source folder of your .frd-file you will now find a new folder “LWO” containing all the .lwo-converted files of the original track.

Just like in the original frd file each block has been converted to a single .lwo file.

Meaning: the longer the track (the more blocks it has) the more files you will get, yay.

Step 2 – preparing track textures

If you would like to skip this step – be warned, the LWO is always prompting an error for each missing texture piece.

Although we won’t be able to create all textures in the following process, we will reduce the amount of missing textures alot.

Reading this tutorial you might be into NFS-modding and maybe aware of where to get the textures from. If not, I will gladly tell you.

The textures of NFS3/NFS4 tracks are stored within the .qfs-file. QFS is a sort of container format containing all textures, really weird.

Step 2.1 – QFS2FSH

The first step is to convert the .qfs-file into a fsh-file. Therefor we need the tool qfs2fsh – this is a command line tool.

The basic syntax is

qfs2fsh source.qfs target.fsh
e.g. qfs2fsh tr0.qfs provinggrounds.fsh

You may want to copy the .qfs into the place of the binary, I think

Step 2.2 – FSH2BMP

The second step is to convert the .fsh-file into tga-files. Therefor we need the tool fsh2bmp – a part of the QFSSuite – this is a command line tool.

The basic syntax is

fsh2bmp source.fsh TARGETFOLDER 
e.g. fsh2bmp provinggrounds.fsh BMP

You may want to copy the .fsh into the place of the binary, I think.

If you are using Windows in 64 bit version you might need to run qfssuite, at least for fsh2bmp in a dosbox or similar.

And you finally have all single textures as BMP

Step 3 – Getting the LWO-Files in blender

Once you have converted the track to LWO you want to start blender and activate the lwo-import plugin.

Now you could import one block after the other for the whole track..

Or you may use the lwo mass import script for blender

import os
import bpy

# put the location to the folder where the objs are located here in this fashion
# this line will only work on windows ie C:\objects
path_to_obj_dir = os.path.join('F:\\', 'test')

# get list of all files in directory
file_list = sorted(os.listdir(path_to_obj_dir))

# get a list of files ending in 'obj'
obj_list = [item for item in file_list if item.endswith('.lwo')]

# loop through the strings in obj_list and add the files to the scene
for item in obj_list:
    path_to_file = os.path.join(path_to_obj_dir, item)
    bpy.ops.import_scene.lwo(filepath = path_to_file)

Of course you need to adjust the path_to_obj_dir with your drive letter and folder structure, and bare in mind that you need to escape the “\”-character like \\this\\is\\a\\folder

And then, click “play” – this may take long and sometimes blender will crash, which can be related to a specific block. I could not find any reason, but I just try and error with removing files from the batch import folder until it is working.

You also may want to check if all blocks are imported correctly as there might be any gaps.

TIP: If you keep on encountering errors while importing or opening even one single .lwo file, try to get another version of the track you want to import as there may be faulty blocks.

Finally, you have all the track data into blender – one step further of having the good old track information in somewhat up-to-date file format. I suggest to save the .blend project right now, just in case.

Looks familiar, huh?

Anyway – within the import process – I would suggest to save the blender project each time possible, as using all this tools is very fragile.

But, where is my textures?

Well, at first, they are there! At second, you have to enable the viewport texture mode

Third, they will look odd, or I totally cannot remember the rusty springs scenery decorated in tons of advertising papers

Imported NFS1 Track "Rusty Springs" - Detail view.

I think that is due to an offset between the numbers in the original QFS file and the export process, but till now I was not able to figure that out.

Anyway, for my personal futher process, the original texture are not really mattering.

So, for me, the next step is uniting the single blocks to one single mesh, in blender you can just press the A-key, and then CTRL+J, and you got one single mesh.

By the way, you can downlod the Rusty Springs blend-files (blocks and united) right here, together with the exported LWO and BMP textures as a zip-package.

Step 4 – Export the Mesh

Right now it is time to export the mesh – for me, I choose the .fbx file for further usage, but your choice might be different depending on what you want to do next.

Step 5 – Further processing

This step is totally individual – I will process the file I created within the unreal engine, you keep reading here.

Categories
Development

The first character

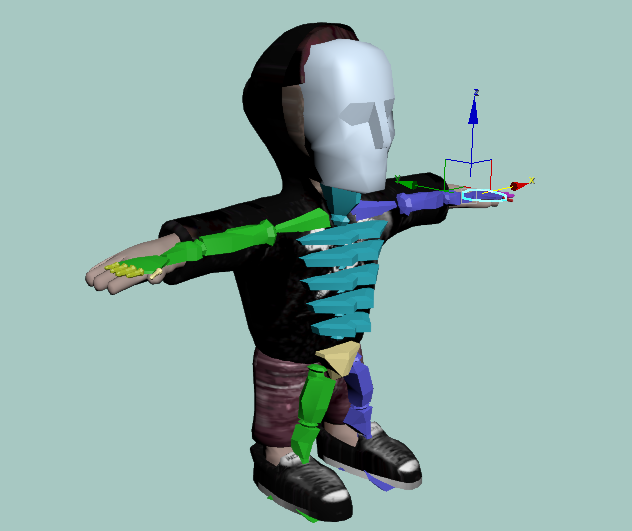
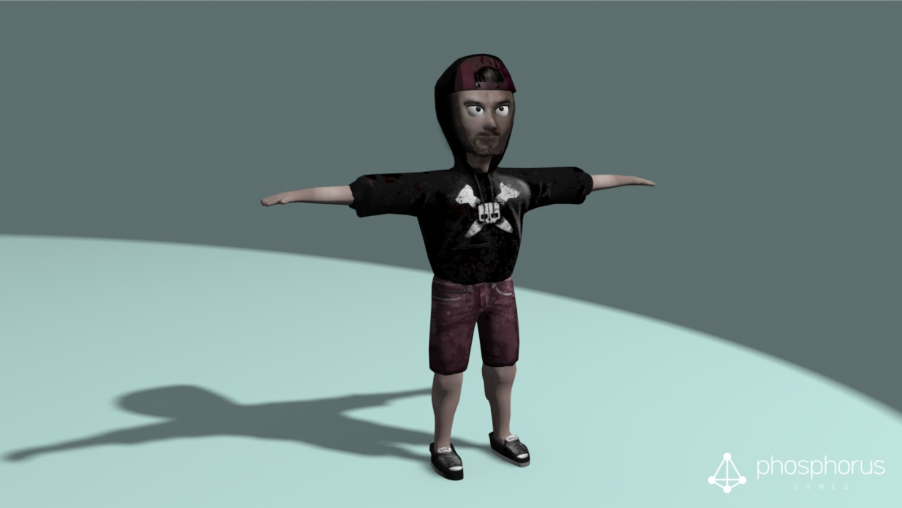
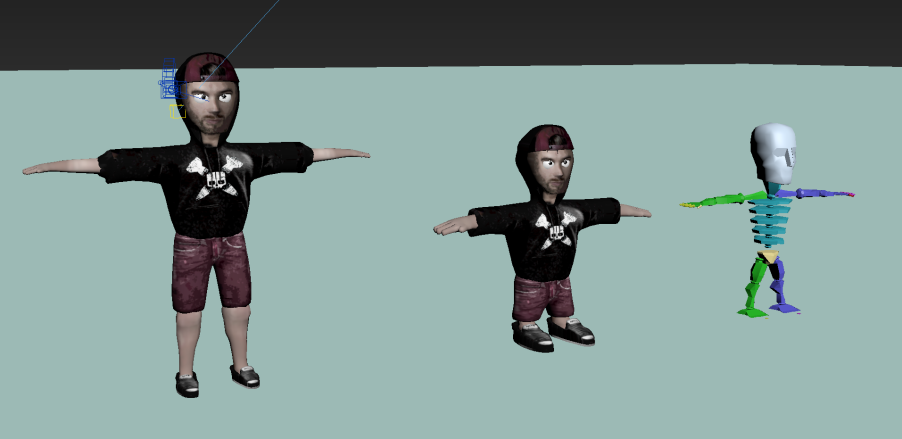
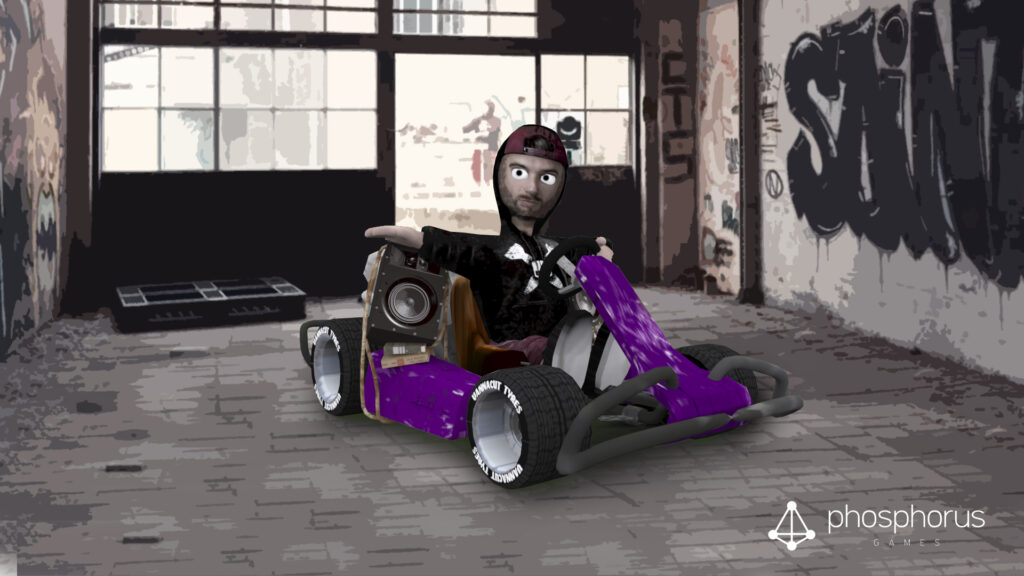
It has been silent for a while now, but therefor I can give you a closer look on the first character for Vannacart.

Just to mention here is that the result you see below is the work of only four hours so far.

N-Vitral sitting in a Kart

Do you recognize the character yet?

Categories
Development

So, it begins

Not going into much detail for now, we finally started working on a concept hidden deep in our desks as an raw idea for years:

Dr. Vannacut’s Vannacart

Dr. Vannacut's Vannacart

Vannacart is – yet – meant as a working title, but who knows, maybe it will stay!

What is Vannacart all about?

Vannacart is a grown-up casual racer, just as CTR (Crash Team Racing) is, but, with nothing but hardcore-djs and -producers as characters!

We will not unveil yet who will be part of it – maybe you have got any suggestions out there?