If you want to import some or all Need For Speed III – Hot Pursuit PSX tracks to blender this short guide might help you.
I digged into it to get to the data of the Playstation-only Tracks Autocross, Caverns, Scorpio-7, Space Race and The Room, but also to finally see the legend TR02B myself.
Personal trivia: I knew that there needed to be some sort of hidden tracks and cars beside the ones that I could ever find as I can clearly remember as if it was yesterday when I read an article about the upcoming NFS3 game showing a screenshot of both track and car that I could never find in the (PC-)release version. Due to the fact that I never had a PSX myself but playing it on PC, I honestly never looked after it. Today I found out that the screenshot was representing the Autocross-Track with the PSX El Nino which has (for some reason) differences in it’s rear end textures.
Prequisites
- Blender (download here)
- The PC-Version of Need For Speed III*
- The PSX-Release of Need For Speed III**
- The Tool/Game OpenNFS (download here, mirror, mirror)
- The Tool trk2blend (download here)
- Adobe Photoshop (or any other tool with the ability to batch-convert BMP-files to PNG-files)
Setting up OpenNFS
This step might be optional as there could be other ways to get your hands on the texture of those tracks, but I found it the most easy way once you set up OpenNFS.
Once you have downloaded OpenNFS you may just want to extract the zipped folder to a location of your choice.
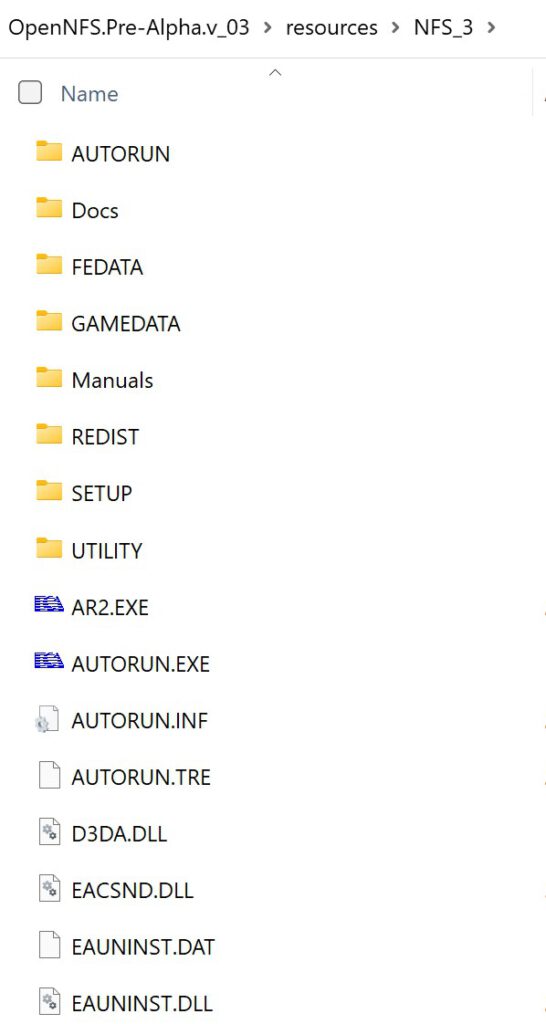
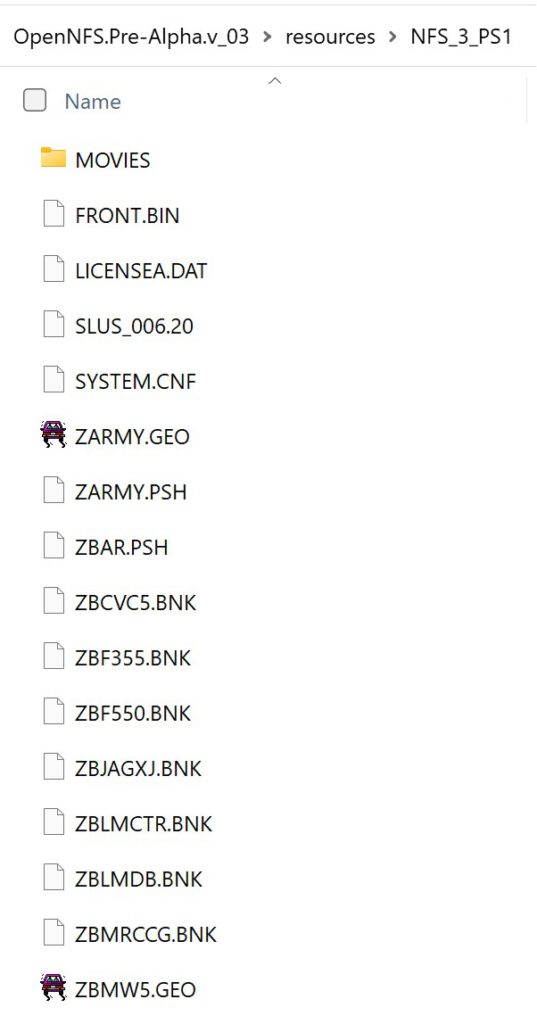
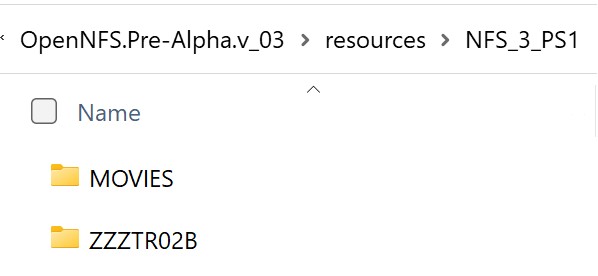
Following the original installation instruction (mirror) you then need to copy the whole NFSIII-PC files obtained from your original NFSIII-PC CD to resources/NFS_3 and the extracted files from your NFSIII-PSX CD to resouces/NFS_3_PS1, so that both folders look like the following screenhots show:
The following step with OpenNFS might be obsolete as there are other tools to convert the textures to BMP, PNG or whatever, but I personally found it the most easy way just to click through the dropdown in OpenNFS waiting for the tracks to load and have the textures all ready in each folder instead of working on a cli.
Starting OpenNFS
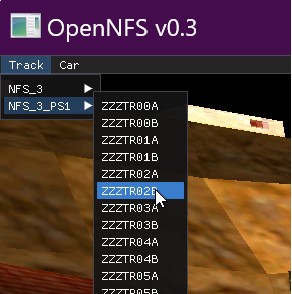
Once you started OpenNFS select TR02B (or any other track you like) from the track dropdown
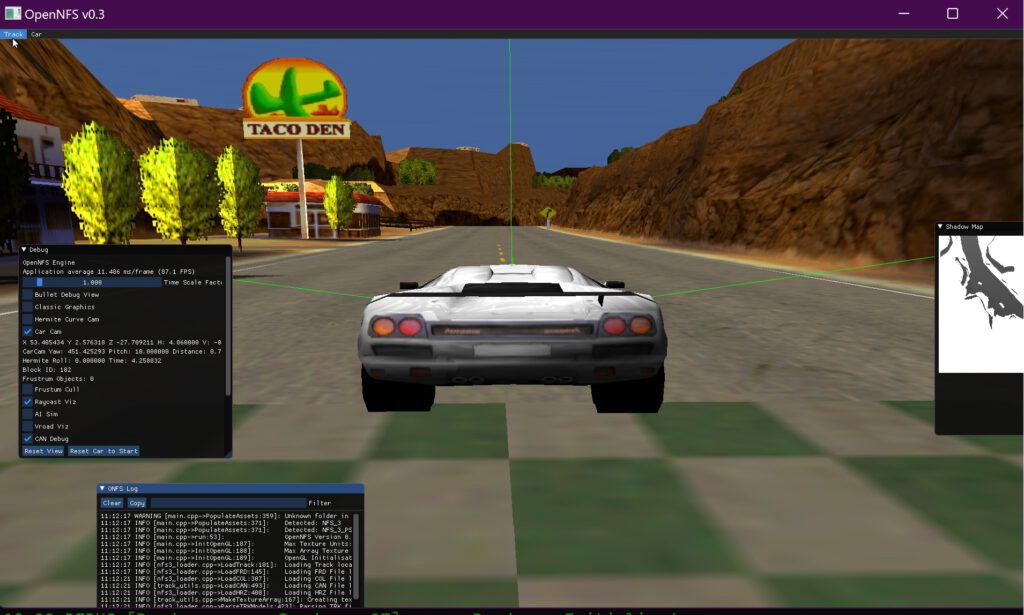
In the cli window in the background you will notice some stuff going on, just be patient and wait for the track to load.
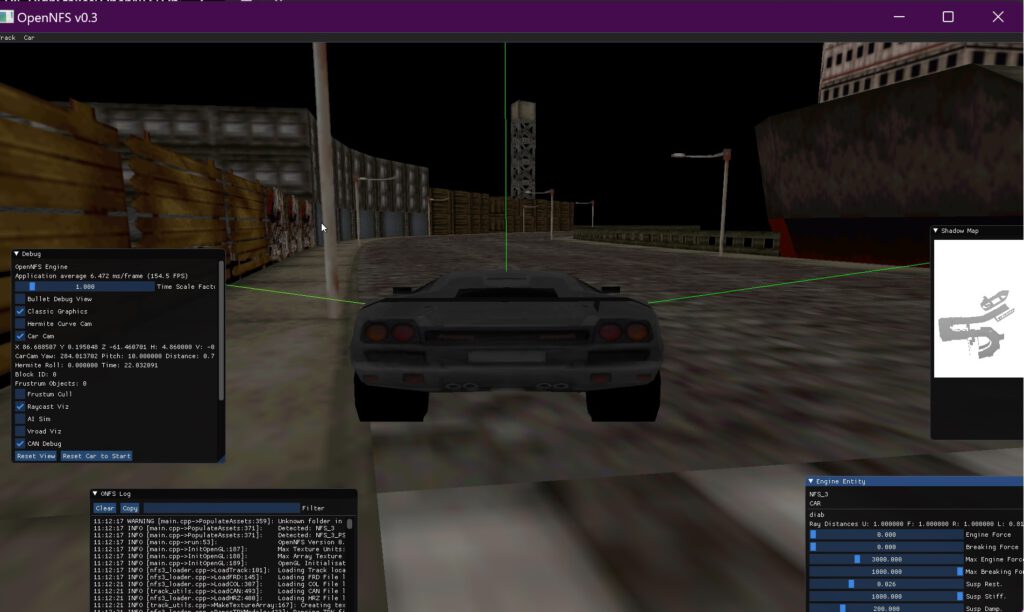
Once the track is fully loaded you now may exit OpenNFS or take a lap around the track – your choice.
Afterwards you navigate to the installation directory of OpenNFS and jump to
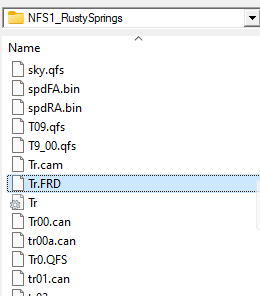
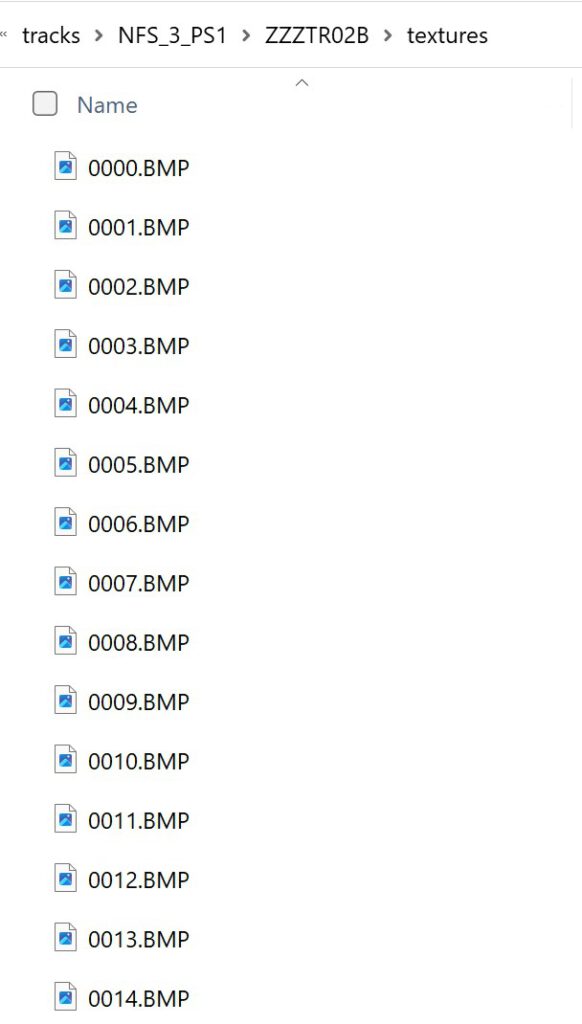
/bin/assets/tracks/NFS_3_PS1/In there you will find all track-folders you already opened in OpenNFS containing each track’s textures as BMP files.
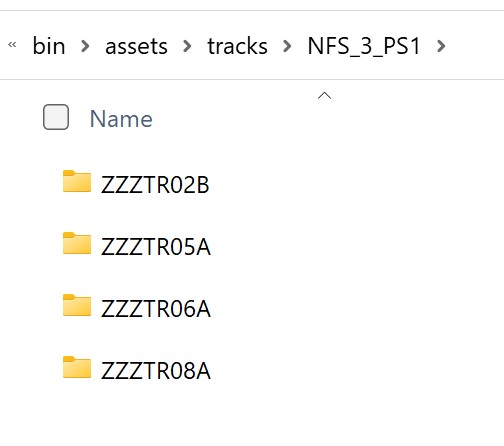
e.g. ZZZTR02B
Converting the BMP files to PNGs
As there are many ways to achieve that I will leave that up to you, I used a simple photoshop action and batch-runned it to get them into PNGs.
I suggest to store the png files in new folder. Personally, I always create new folders like
ROOT/exports/nfs3/tracks/tr02b/pngConverting the TRK files to Blender with TRK2Blender
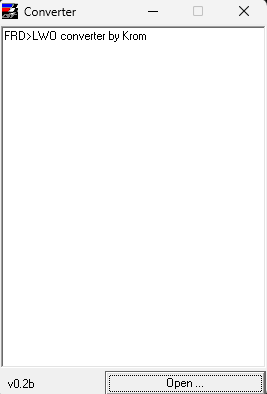
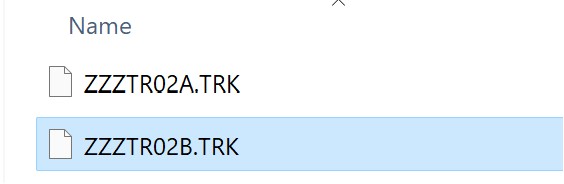
Open the tool “TRK2Blender”, navigate to the PSX-files-folder within your OpenNFS installation directory and select the corresponding trk file, e.g. ZZZTRK02B.
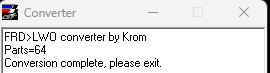
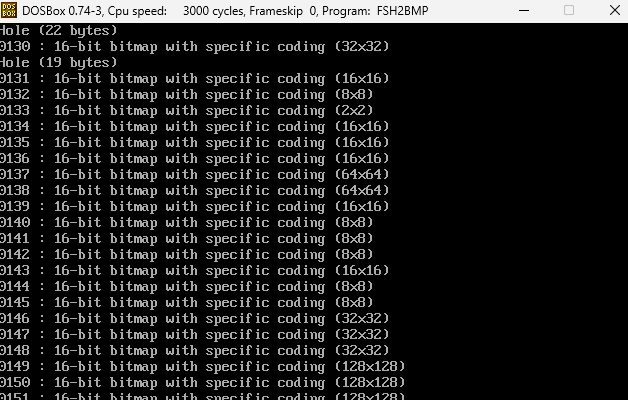
Afterwars you will see the conversion process running
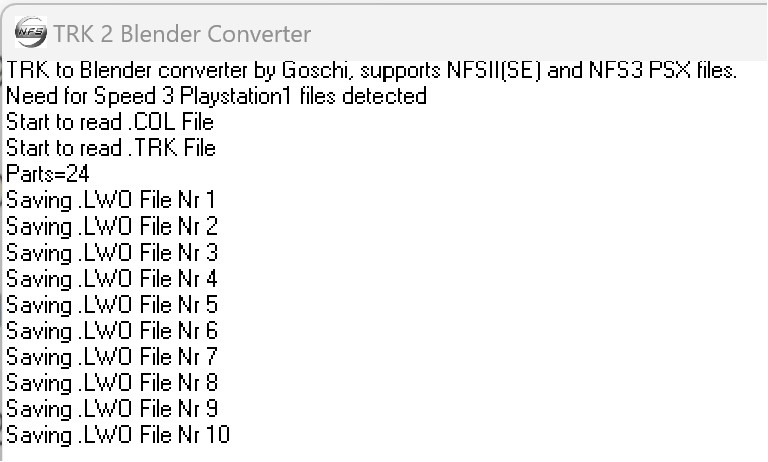
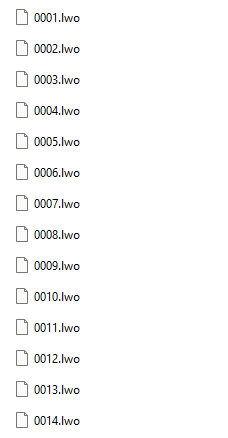
Prompting “Conversion complete, please exit.” when the process is completed. Within the NFS3-PSX file folder in OpenNFS’s resources you then will find a new folder named after the track file you opened containing all .lwo files.
Note: At this step I suggest to copy all .lwo-files to the export-folder above just to keep an eye on the exported files for later use maybe.
ROOT/exports/nfs3/tracks/tr02b/Make sure you copied the bmps converted to png in the subfolder (here “PNG”; but the name is up to you, e.g. “textures” or whatever).
Start Blender
Once you started blender I prefer to empty the scene to remove unused content.
Open scripting tab, click “new” and paste the following script.
import os
import bpy
# put the location to the folder where the objs are located here in this fashion
# this line will only work on windows ie C:\objects
path_to_obj_dir = os.path.join('C:\\', 'Users', 'USERNAME', 'PATH', 'TO', 'YOUR', 'FILES')
# get list of all files in directory
file_list = sorted(os.listdir(path_to_obj_dir))
# get a list of files ending in 'obj'
obj_list = [item for item in file_list if item.endswith('.lwo')]
# loop through the strings in obj_list and add the files to the scene
for item in obj_list:
path_to_file = os.path.join(path_to_obj_dir, item)
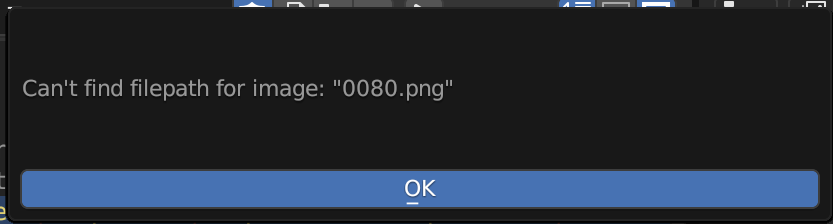
bpy.ops.import_scene.lwo(filepath = path_to_file)Make sure to edit the “path_to_obj_dir” var to match your folder structure, e.g.
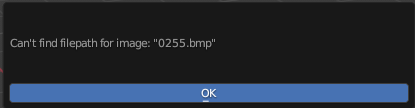
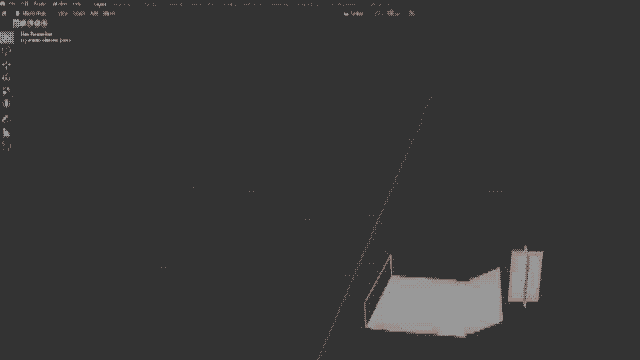
path_to_obj_dir = os.path.join('D:\\', '_HighStakes', 'OpenNFS', 'OpenNFS.Pre-Alpha.v_03', 'resources', 'NFS_3_PS1', 'ZZZTR02B')And hit the “play”-button in the scripting Tab. An error will occur.
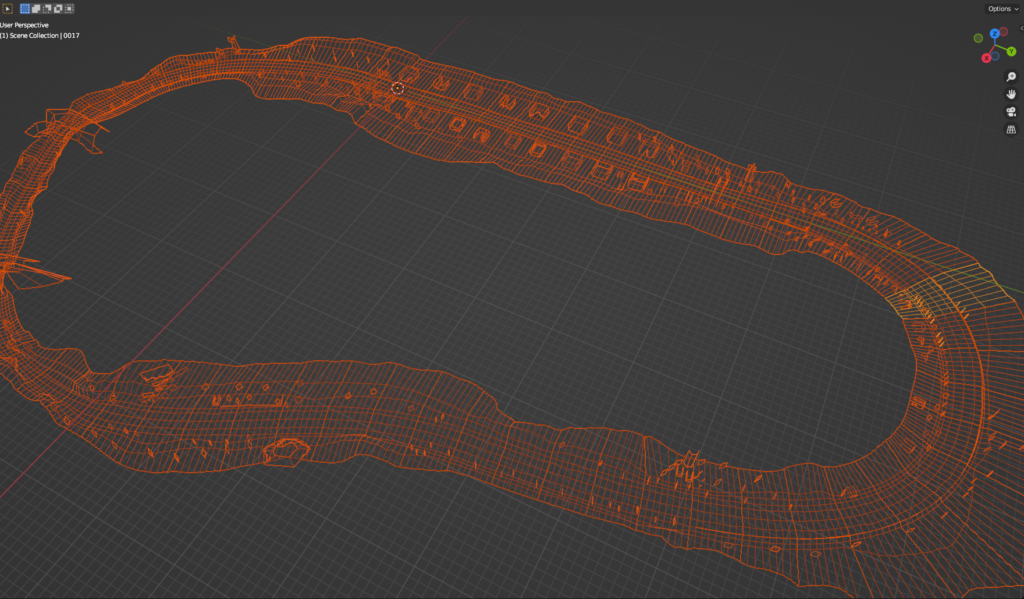
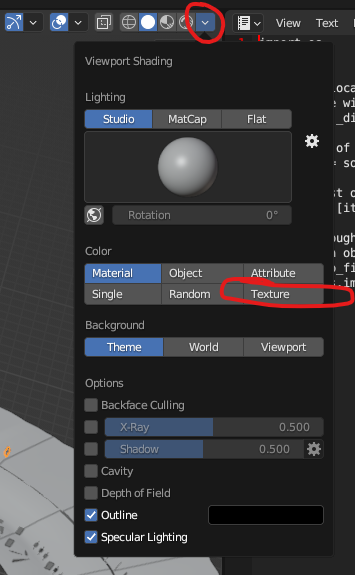
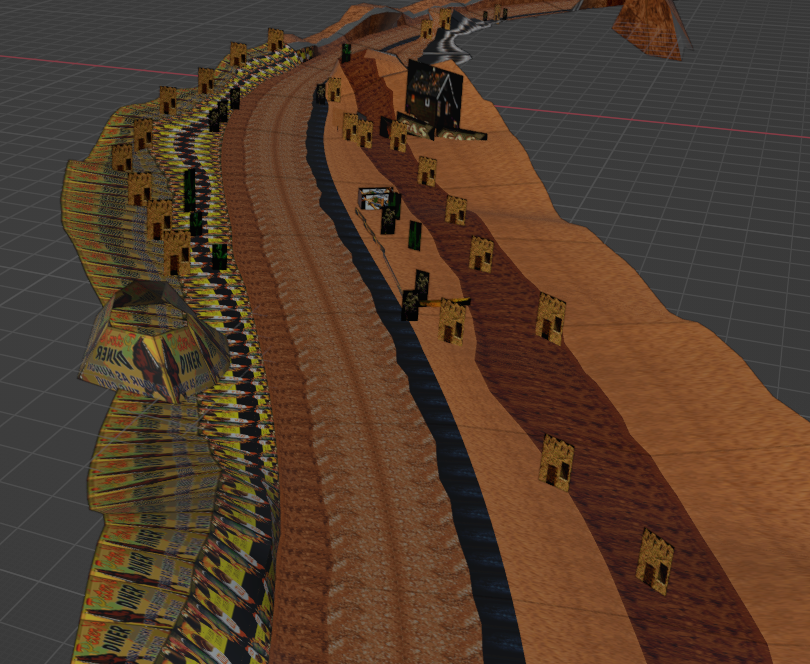
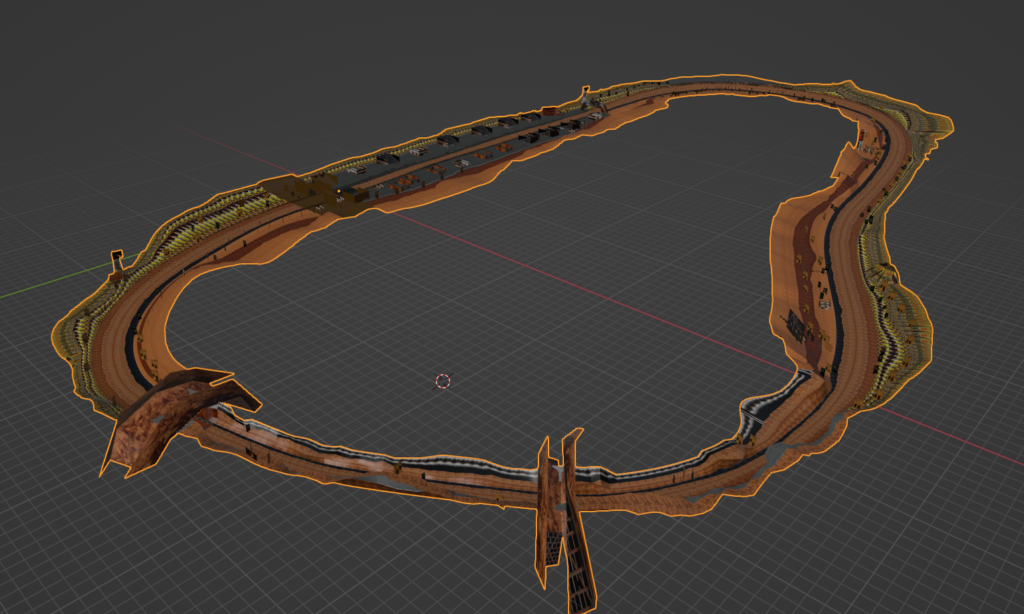
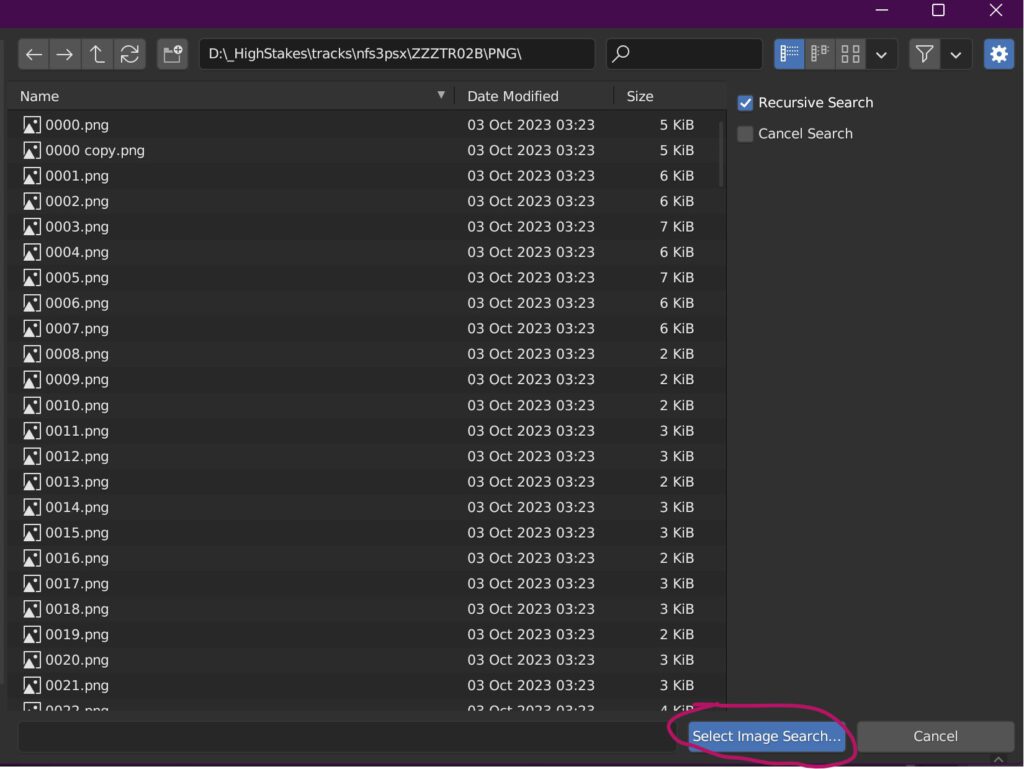
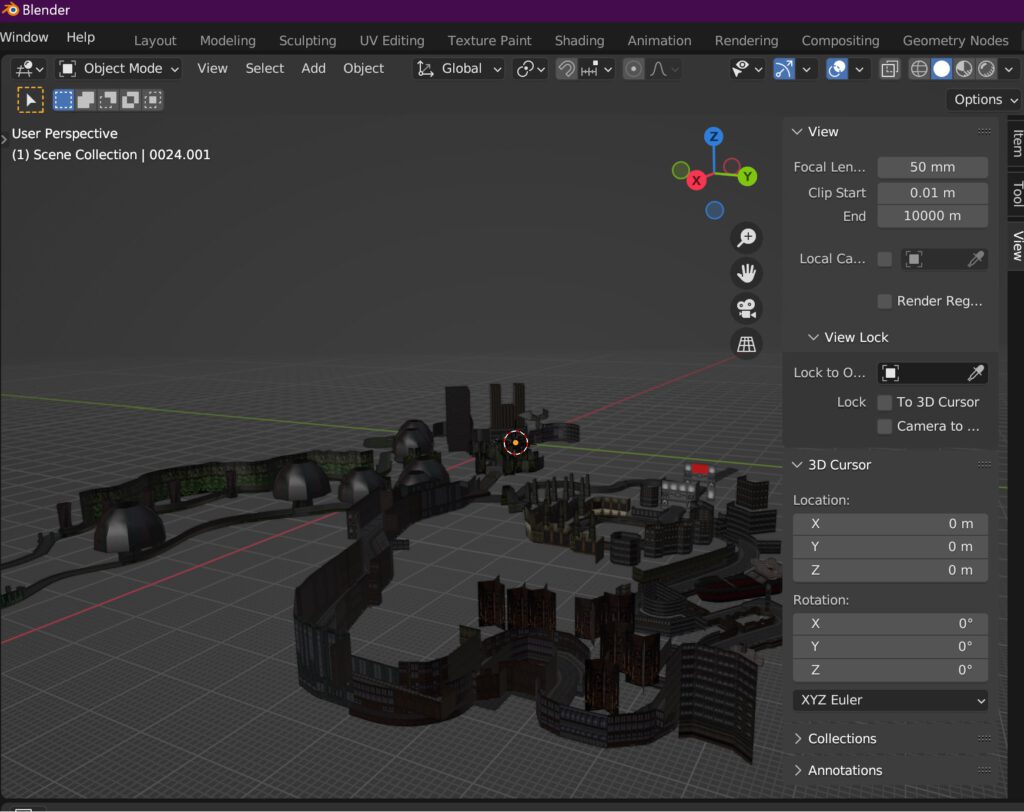
Select the texture folder created, hit “Select Image Search…” and see imported track TR02B in blender.
*, ** – Due to copyrights I cannot give you access to any of these original game data files, of course!