Yes, you are absolutely right if you begin reading this and instantly think “why should I rework it – there are tons of blueprints or ready-to-buy (or even free) versions of the cars all around the internet”.
That is in fact true, but now for all the so called fantasy cars that exist within the nfs-franchise, mainly in the first four releases.
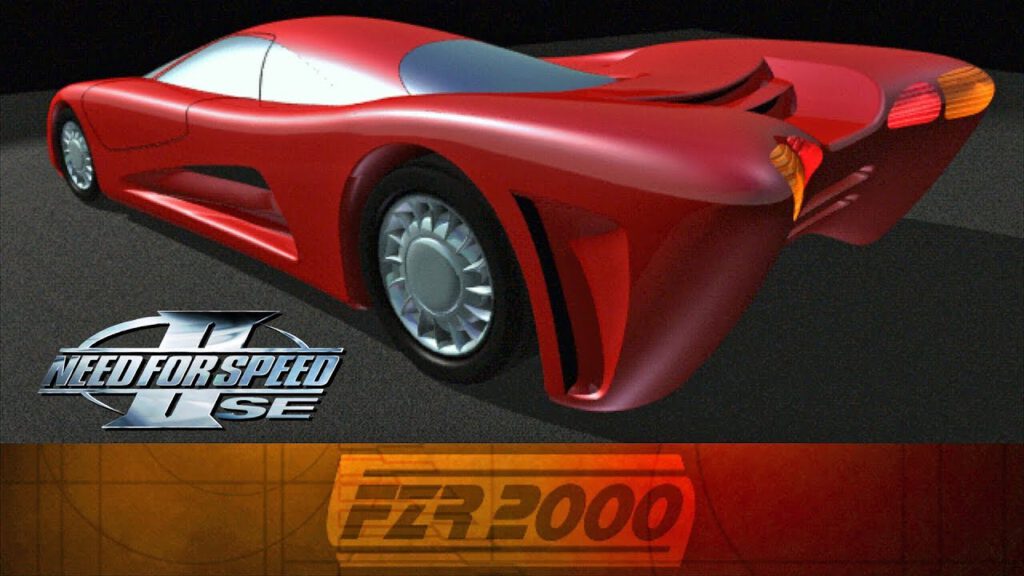
Chronologically I should start here with recreating the “Warrior PTO/E2” from the very first “Road & Track presents – The Need for Speed”. But as I did not (yet) find a way of converting the NFS1 car models to somewhat nowadays processable format, I am starting with the FZR2000 from NFS2(SE).
Converting from old file format to new file format as preparation
Converting the car from NFS2SE to NFS2.
For some reason the car file format in NFS2SE differs from the ones in NFS2. So, as the car editor only supports NFS2 file format, the first step is to convert it back from NFS2SE to NFS2 as I only own the SE-version of the game.
The conversion process itself is very easy and basic and can be done with a simple tool named “CarEditor” by Mike “Thommson”.
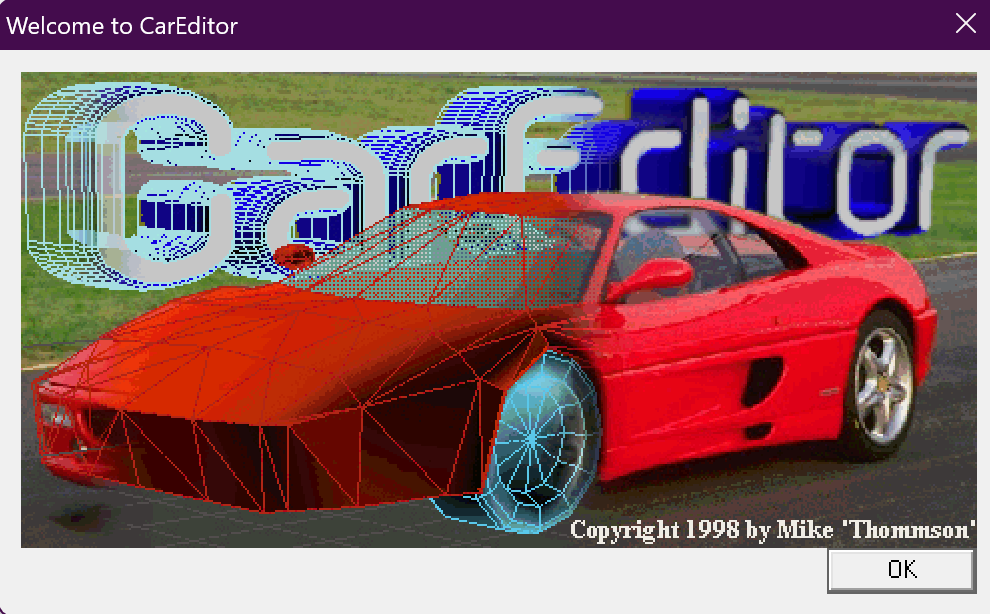
Once the program is started, just oben “NFS2SE” car, select the “futr.geo” and save it as NFS2 car somewhere in your file system
Convert the NFS2 car to NFS3
The next step is even more easy, but yet also buggy. You need to convert the NFS2 car file to NFS3. This is done by using the DOS command line tool “car2nfs3”, also written by Mike ‘Thommson’
The use here is simly easy, just copy the futr.geo (from the step above or from the non-SE version of NFS2) and futr.qfs (from the gamedata folder) to the folder where the binary of car2nfs3 is located.
car2nfs3 futr.geo futr.qfs car.fce car00.tga
this promt will convert the car and texture file to the nfs3 formats.
Convert the FCE file to 3ds
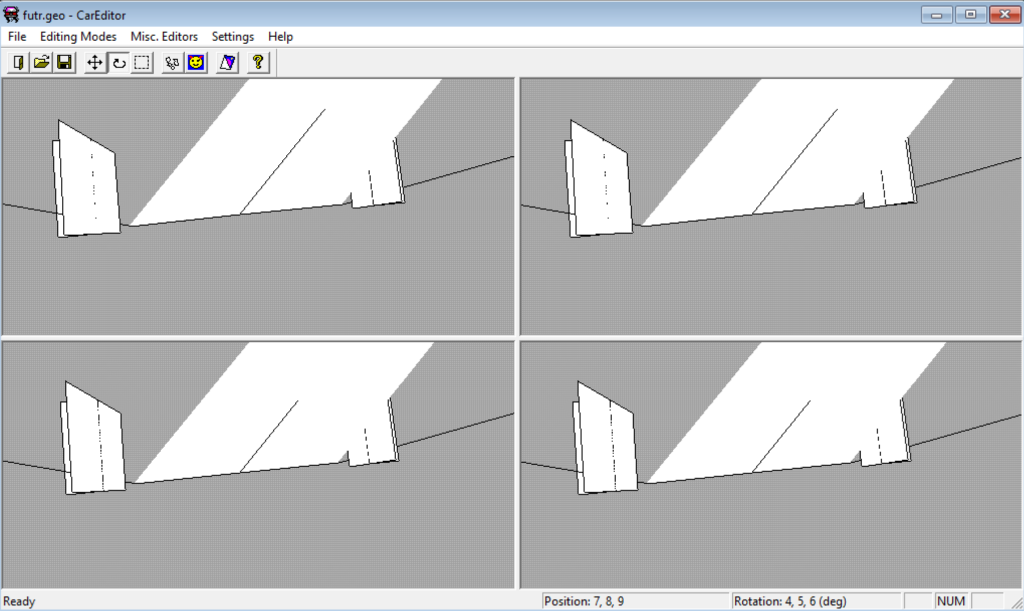
Now, the next step is already getting the .fce geometry file into nowadays file format “3ds” using the old(!) version 1.07b of the Zanoza3d Modeler, as version 2 and higher do not support nfs3 and nfs4 file formats.
Damn, what did I miss this software, and on the same time not. Comparing it to nowadays workflows all those tools are really a pain regarding the usability and stability. Don’t get me wrong, I really love that they do exist and did exist back in those days where I started modding and modelling, and I am so thankful towards the autors and pay them as much respect as I can, but the tools have improved in the last years and so have my workflows, and it really feels odd to use those old tools in 2023.
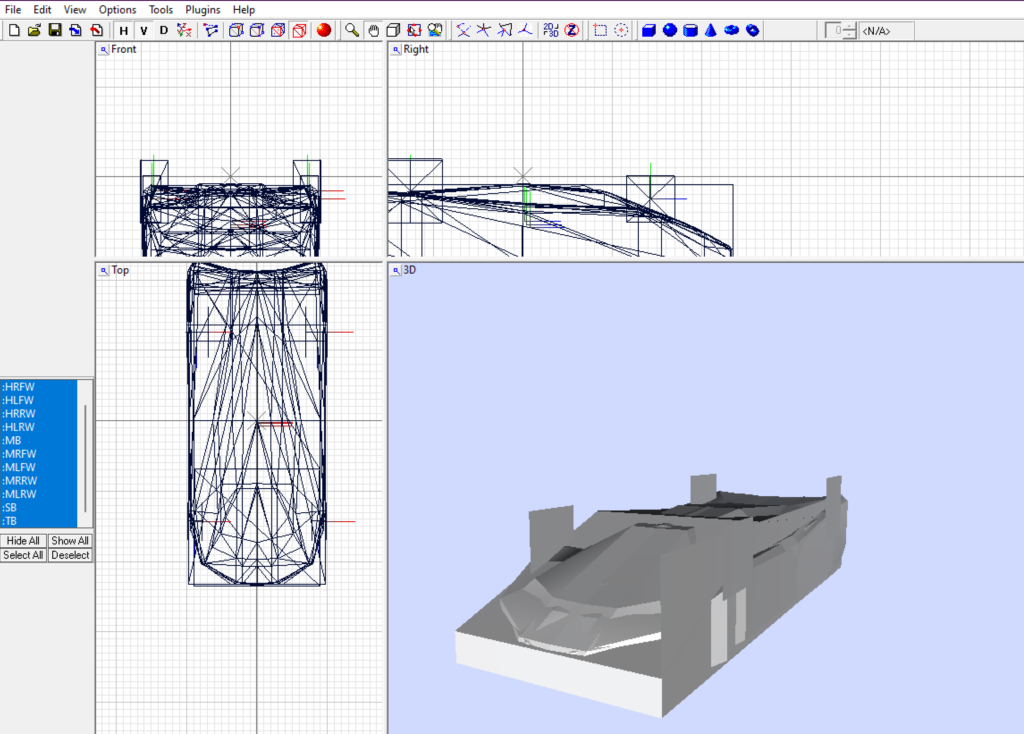
Now, having the .fce file in z3d the geometry can finally be exported to 3ds – meaning it can now be imported to Blender, 3D Studio or whatever tool you prefer to use.
Kind of impressive how lowpoly the cars have been back then right? I mean, look at those “wheels”.
Texturing
As within the conversion process the texture(s) of the car have also been converted you “just” need to flip them once vertically as for some reason the UV coordinates are upside down.
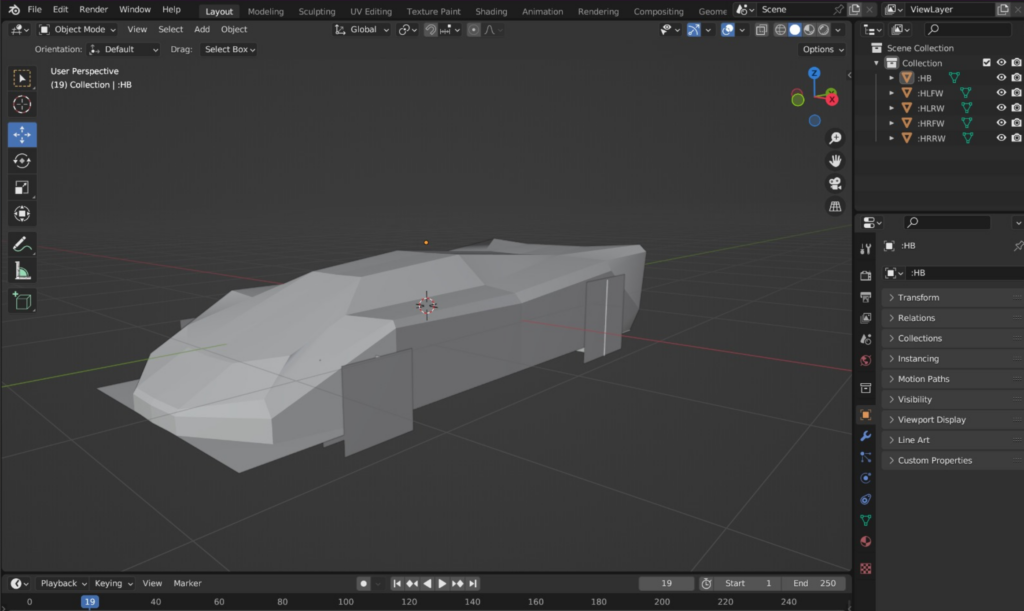
Welding
As for some reason the converted meshes are not featuring welded (connected) vertices anymore this needs to be done (by pressing A-key in the edit mode in blender and then selecting the weld modifier).
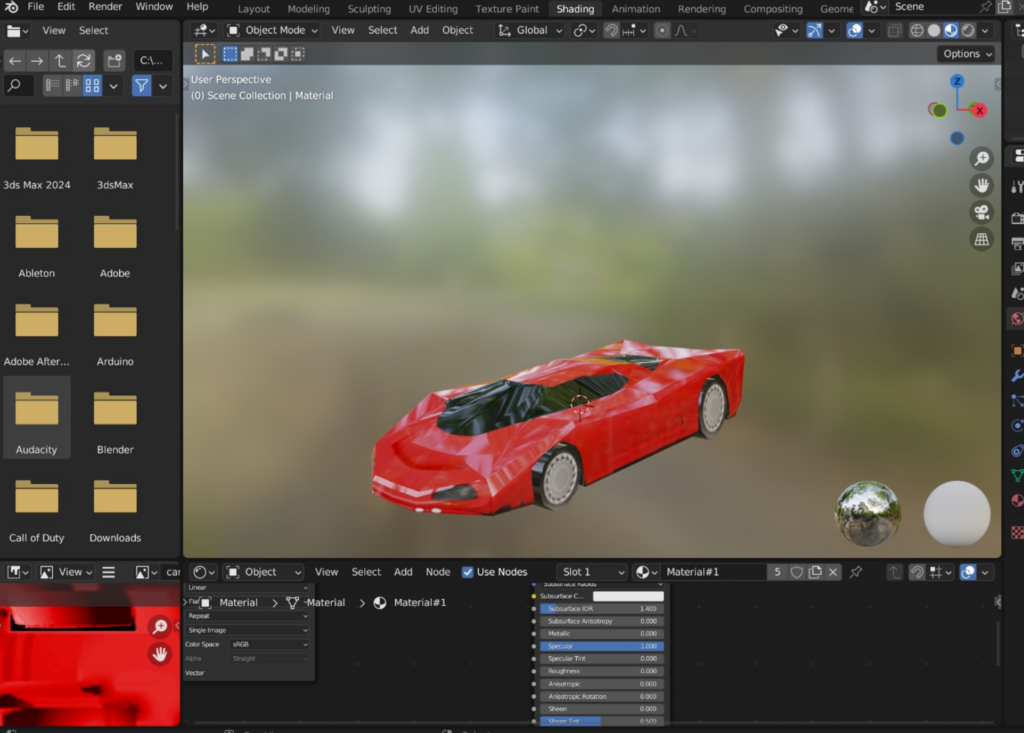
The result after all conversions
Once the textures are applied and all vertices are welded back together we now have a solid base as blueprint for reworking the model.
Reworking
Having the old original model as base, together with the only two artwork-images exisiting the process can finally start.